 The first day to Garage Sale this year yielded this addition to my sewing area. When I saw the metal base it was painted black, with rust spots. The wooden cabinetry and sewing machine had been removed unfortunately. It also had a large round piece of plywood for an informal table top. Over that was a nasty vinyl table cloth.
I still decided that it would be a good addition to my sewing area so I bargained the seller down from the $7 that she was asking to $5!
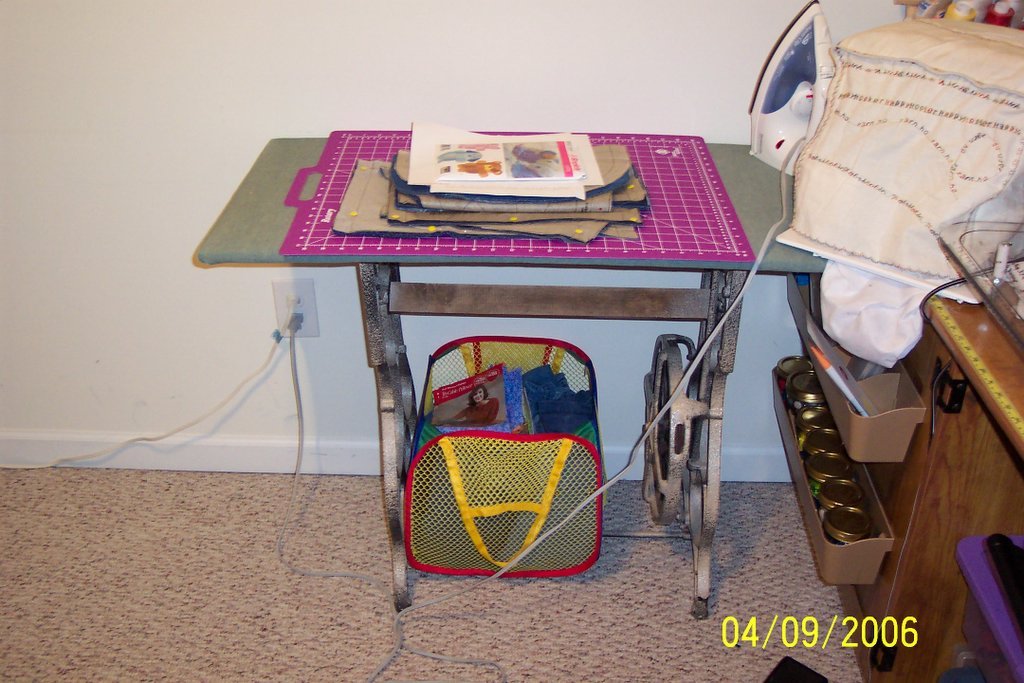
After getting it home and over the last month since I got it I removed the round top, cleaned the metal base, discovered some things about it like it once belonged to a Standard brand sewing machine(I haven't researched the etched numbers to try to find out the date, or model information). Rocky cut the round top down to a 18x37" rectangle. I spray painted the base with a putty colored fleckstone finish that left some black showing through.Rocky added a few clear coats over that.
I then took the rectangle for the top and covered it with 2 layers of cotton batting and thick cotton fabric.
I love this table:
It's the exact same height as my existing sewing table. I use it to extend my work area. My serger and cone thread rack fit into the "L" well with out wasting the corner space.
It's perfect for ironing, but more stable and shorter lenght than my ironing board. The limited space I have in this room feels bigger now.
Since it's sturdy it can house my embroidery machine.
It's perfect for cutting as my cutting mat fits on the top of it well.
I don't know if I could have found a more perfect solution style wise and function wise for this space. I'm very pleased.
The top is sitting on the base unattached. We will eventually screw the two together. The wood spacer/stabilizer that you see was put there by the previous owner and it's actually a little too wide. Rocky is going to replace it with either 2 metal rods, or a wider piece of wood with 2 attachment points on each end. I will then have a shelf, and depending on whether or not I can find one in the right dimensions an additional drawer or two for storage of supplies that I need quick access to. The base has several predrilled holes that I'm assuming were for attaching the original cabinetry to this base so I have several options.
After this step we will permanently attach the two together. Since the top is pretty heavy I'm not worried about it going anywhere in the mean time though.

3 comments:
oh wow, it does look great!
that is so cool. glad u were able to finally get it cleaned up and fixed. it's awesome it fits so well for ur area!
that is so great!!!
Post a Comment